The synthesis of embedded development and the .NET ecosystem
In this post, I’d like to give you a little introduction to the .NET nanoFramework, as I think it might be interesting for you if you’ve always had an eye on the MicroController world, but you feel more at home in .NET.
Maybe the hassle of setting up a development environment or the challenges associated with C/C++ have kept you from getting started or putting you off. Then I would like to show you a way to get on comfortably – without having to leave your comfort zone.
What is the .NET nanoFramework?
The .NET nanoFramework is an open source project and also part of the .NET Foundation. This joins a large number of other prominent projects, such as ASP.NET Core, OmniSharp or Json.NET.
The project originated about six years ago from the .NET Micro Framework, which became popular with the emergence of the IoT hype on a few “hobby boards” such as the Netduino.

The .NET nanoFramework is accompanied by all sorts of sponsors and a huge community, which keeps the project alive with all its contributions and always up to date. Currently, the .NET nanoFramework is on .NET 5; is already on an advanced preview of .NET 6.
Benefits of C# on Microcontrollers
The MicroController world is characterized by numerous different programming environments (IDE, connection, language, compiler, etc.). As a rule, development is carried out with C or C++ – but variants of these are also often represented. This means that the portability of application code is only possible to a limited extent or not at all. Also, a developer has to take care of many tasks around the development of his application. These include, for example, memory management and object (de/con)struction.
A lot of things become very easy with .NET on MicroControllers. One of the most important advantages of the project is the CLR (Common Language Runtime). This regulates the memory, the destruction of objects that are no longer needed, and much more (garbage collection) so that a developer can concentrate better on his application logic.
Another advantage that results from this is the embedding in the .NET ecosystem. This includes especially the IDE (Visual Studio). So you can develop, test, build and deploy your code as usual.
Anyone who has already developed code for MicroController knows the cumbersome situation of debugging. Where against C# developers only press “Start Debugging” (F5) and everything is done in Visual Studio. This is easily possible with .NET nanoFramework.
Getting started…
It is very easy to set up the .NET nanoFramework. All in all, the biggest challenge is to flash the right firmware image for the MicroController – but more on that in a moment. With the next lines we set up the environment and integrate the hardware:
1. .NET 6
Please download and install .NET 6 if it does not already exist.
2. Start Visual Studio (Supported will be from 2019 / on 2017 you would have to trick a bit 🙂 )
- Click Extensions from the menu, and then click Manage Extensions.
- A dialog will then open, where you make sure that you have selected the Online tab on the left.
- now search for “nanoFramework”
- there should be a result that you now please install. (the installation process requires you to close VS and takes some time)

3. Installing “nanoff”
next open the Package Manager Console (or any other Powershell or CMD) and enter the following command
dotnet tool install -g nanoff

The command line tool ‘nanoff’ helps to communicate with the MicroController Board and thus to complete tasks. For example, you can flash the nanoFramework firmware, query the device capabilities and much more.
4. Flash firmware
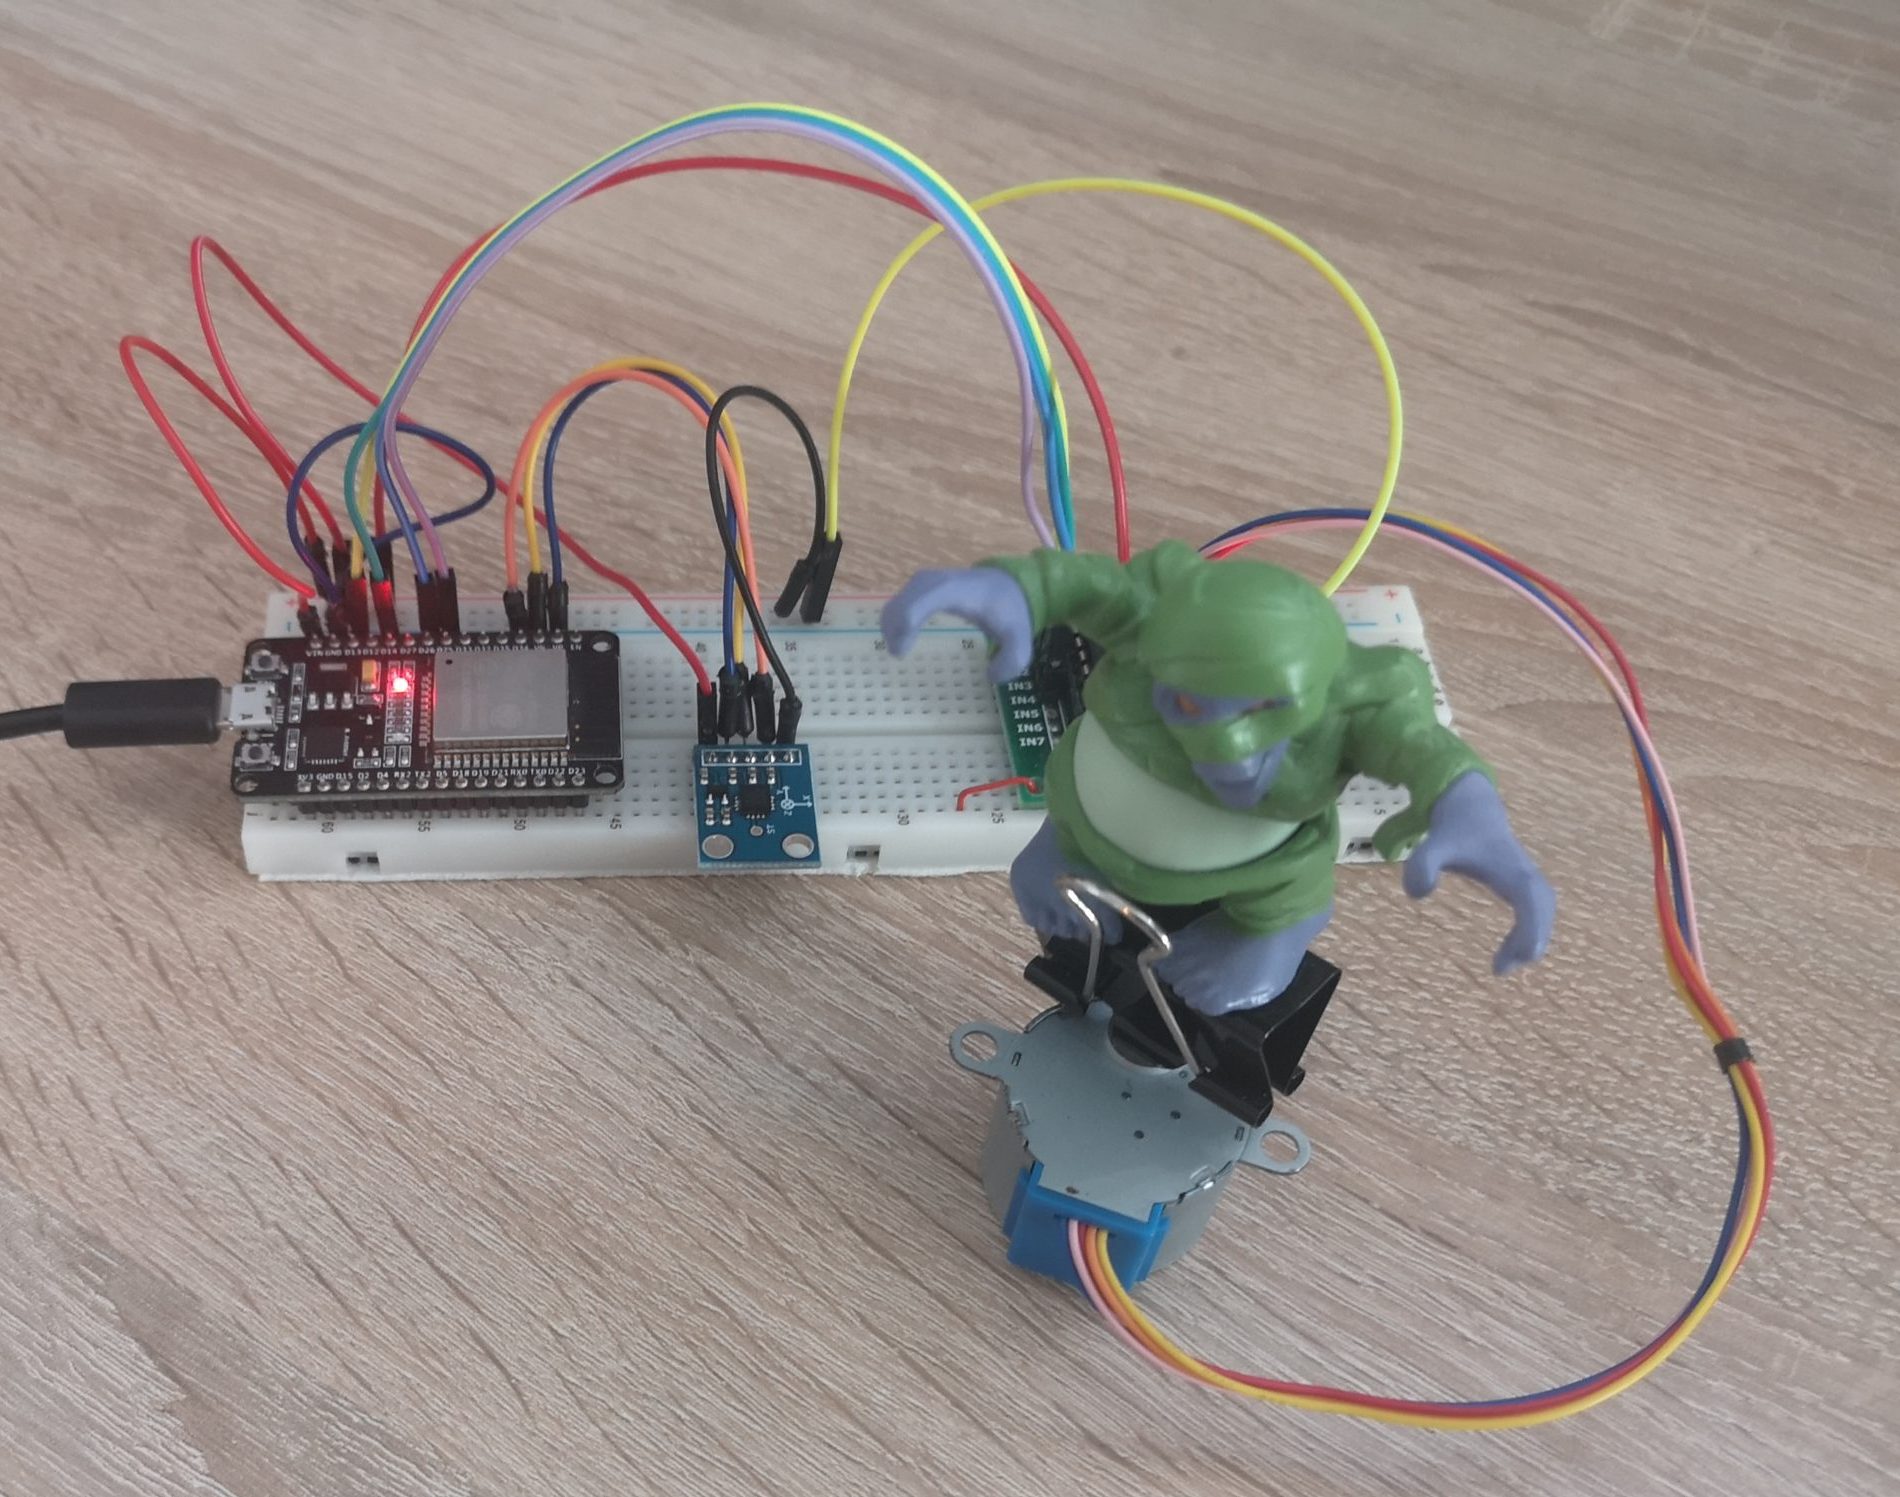
I used the ESP32 for my projects. This MicroController has Wifi, Bluetooth and many other great features, which is why I like to use it for hobbyist projects.
For this ESP I flashed the latest firmware image in preview … and it went like this:
nanoff --platform esp32 --serialport COM4 --update --preview

—platform stands for the MCU type. The –serialport is assigned herewith COM4.
Next, I use —update to indicate that, if it already exists, I want to flash the update of a newer image. The —preview flag also allows me to include the preview versions of images.
If the flashing was successful, then you will get a corresponding message in the output window and have already mastered the most difficult part. The next step is to start coding. But before you get started, I would like to point out useful features.
The Device Explorer

In Device Explorer, you can identify your connected device. The list is empty if you haven’t connected anything. With the Explorer you can now apply different actions to the device.
I want to describe them briefly. In the image above, I marked the functions with a green rectangle. Starting from the left:
- Ping: with it I can ping my device once if it vlt. unresponsive seems.
- Device Capabilities: After one click, I get information about the firmware image used, the flash memory and much more in the output window.
- Delete the device deployment area: If something went wrong during deployment, or if the application on your device behaves differently than expected, you can clean up here with one click.
- Network settings: This allows the ESP, for example, to configure its network configuration. (WIFI-Password,….)
- Reboot (CLR, nanoBooter or bootloader): this allows you to restart one of the three options if necessary.
The other buttons are used to operate the Device Explorer. For example, you will also find a button for manually searching for devices in case communication is stuck or information about the way deployment images are handled.
Code
Now the coding can start. To do this, you can create a new project in VS. Select one of the nanoFramework templates (Blank for example) and you are ready to start.

Now you will certainly not just write any loops, that set some counters up, but maybe you would like to control pins or even modules that you have wired, right?! Now is the time to look at the GitHub repos of the .NET nanoFrameworks .
Here you will discover a variety of example projects and numerous libraries for controlling LEDs, gas sensors, displays and many more. You don’t always need to write the code yourself. The nanoFramework project has already brought many libraries with it. The community also often provides its own libraries for devices that are not (yet) made available by the project. You can find a lot of it here.
To integrate a library to a specific component, you can use NuGet Packages as usual, as I did in the example image.
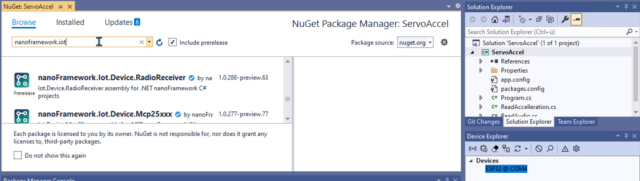
By the way, if the building does not really want to work and hints on version conflicts are given, then see if you have updated everything to the latest version. In the picture above, you can see that six updates are pending. Some could concern the nanoFramework Core Assembly, which should match your device’s firmware.
Everything ready for your own experiments
Now everything is set up and you’re good to go. In case you couldn’t find everything you’re looking for here, take a look at my video, where I’ll go through the setup step by step and show a little more application (Youtube video here) – it is in the german language.
My experiences have been consistently positive. Every now and then you may have to use the buttons for manual searching, rebooting or memory deletion because something is behaving strangely, but these are easy-to-fix topics that you would also have if you were developing with an Arduino IDE, PlatformIO or other IDEs based on C/C++ (variant).
In my opinion, the gain in focus for the application logic is worth the attempt to go to .NET nanoFramework and thus develop the thing. I would be happy if you would leave me your experiences here or suggestions for your own projects.
Stay healthy until the next article!
Great post. Thx a lot.
Hope it had benefits for you. Glad to be helpful!